How to 3D print Nylon reliably, cleanly and hassle-free.
 |
| A well-printed and robust dual-head Nylon mount (check it here). |
Nylon is flexible, slippery and incredibly tough when it is printed correctly.
For me, it is a cheap and very useful material to 3D print. It is my best choice whenever PLA is not possible, and the very reason I never use ABS (more about the materials in this post).
But the nice properties of Nylon are the ones that precisely make it difficult to print ! By the way, Nylon also produces toxic fumes when heated, just like ABS, so it better be used in well-ventilated rooms.
I tried many known and unknown techniques to print reliably, and it is time I share my experience because I am happy with what I found. Read on for more!
Nylon sometimes warps a lot!
According to the nature of the Nylon filament you are printing, the layers may shrink significantly when they cool down. And since Nylon is very flexible (not really elastic), it drags the former layer inwards, which in turn warps the whole object up, until the part pops off the bed.Warping is easy to see on the corners and it depends a lot on the object geometry.
| See how Nylon warped a bit and pulled the useful raft on the corner? |
But still, a Nylon brim will not stick to a regular bed... we will address this further below.
Dry Nylon filament (as steam makes bubbles!)
Nylon does like moisture, and moisture converts to steam when heated in a 3D printer nozzle for sure. It can be heard at the end of my video of a 10-year old trimmer line being printed, or with the one below : hissing and bubbling.Too much moisture in the Nylon filament creates a lot of bubble and a frosted-like surface that does not look like the slick one in the top image of this post. Just leaving the roll on a rainy day for a few hours is enough for it to absorb a lot of nasty ambient moisture!
Close up: moisture in Nylon results in exploding tiny bubbles at the nozzle,
but they reciprocally also improve the bonding with the following layer !
(still, here, there is too much moisture left and the result looks very rough)
There are different solutions to dry a Nylon roll, but I stopped using my kitchen oven. It may work well for an entire day at about 100°C, but I cannot stand more than half an hour as it sucks so much energy, and heated Nylon is certainly not a good idea for a cake!
Actually, just wait for a sunny day and store your spool in a transparent sealed plastic box with moisture absorbent stuff (eg. the silica gel that is found with many electronic appliances or photo gear). Place a black surface at the bottom of the box to heat it further, and expose the closed box to the sun for a day. As for me it works very well, for free, and it does not dry the spool too much.
Still, keep some moisture to fight off delamination
Now, this is an interesting finding: it may not be so well to dry the Nylon too much. People keep telling that Nylon should be kept totally free of moisture to print well, but I do completely agree and I explain why here.First, you get a frosted look when Nylon contains moisture, versus a slick surface. Some people may like it. But this is secondary, or even completely useless since Nylon is mostly used for strain-resistant mechanical parts.
More importantly is how sturdy is the printed part.
Just try it: print some Nylon fast, eg. at over 70mm/s and you will usually get an unusable print due to delamination, where the layers do not bond well to each other. See the box below? As far as I remember, it was printed with very well dried Taulman Nylon, at 50-60mm/s. You can see how brittle it gets, even before I removed the part from the bed!
So here is the interesting conclusion: I can print much faster and/or with lower temperatures and still get a sturdier print when I let my filament keep some moisture! I dry my filament completely only when I want to avoid the rough surface, but I then have to print very slowly, or use thinner layers, or use higher temperatures, to let the heat fuse the deposited materiel properly with the existing previous layer.
Nylon printed parts keeps popping off my bed!
Now this is the most common and most annoying issue with Nylon. The usual tricks just fails systematically : higher bed or nozzle temperature, Kapton tape, painter tape, etc. No way. |
| Isorel/Masonite board, with a raft below the object It works somehow but it is ugly ! |
My first working support was Isorel (or Masonite, a kind of fiberwood that is typically found on the back of Ikea furniture).
Sure, Nylon bonds well with cellulose, so hard cardboard should work as well.
But I soon got tired of having to clean the resulting mess, because the fibers gets embedded within the first layers. It make quite a "dirty" look.
 |
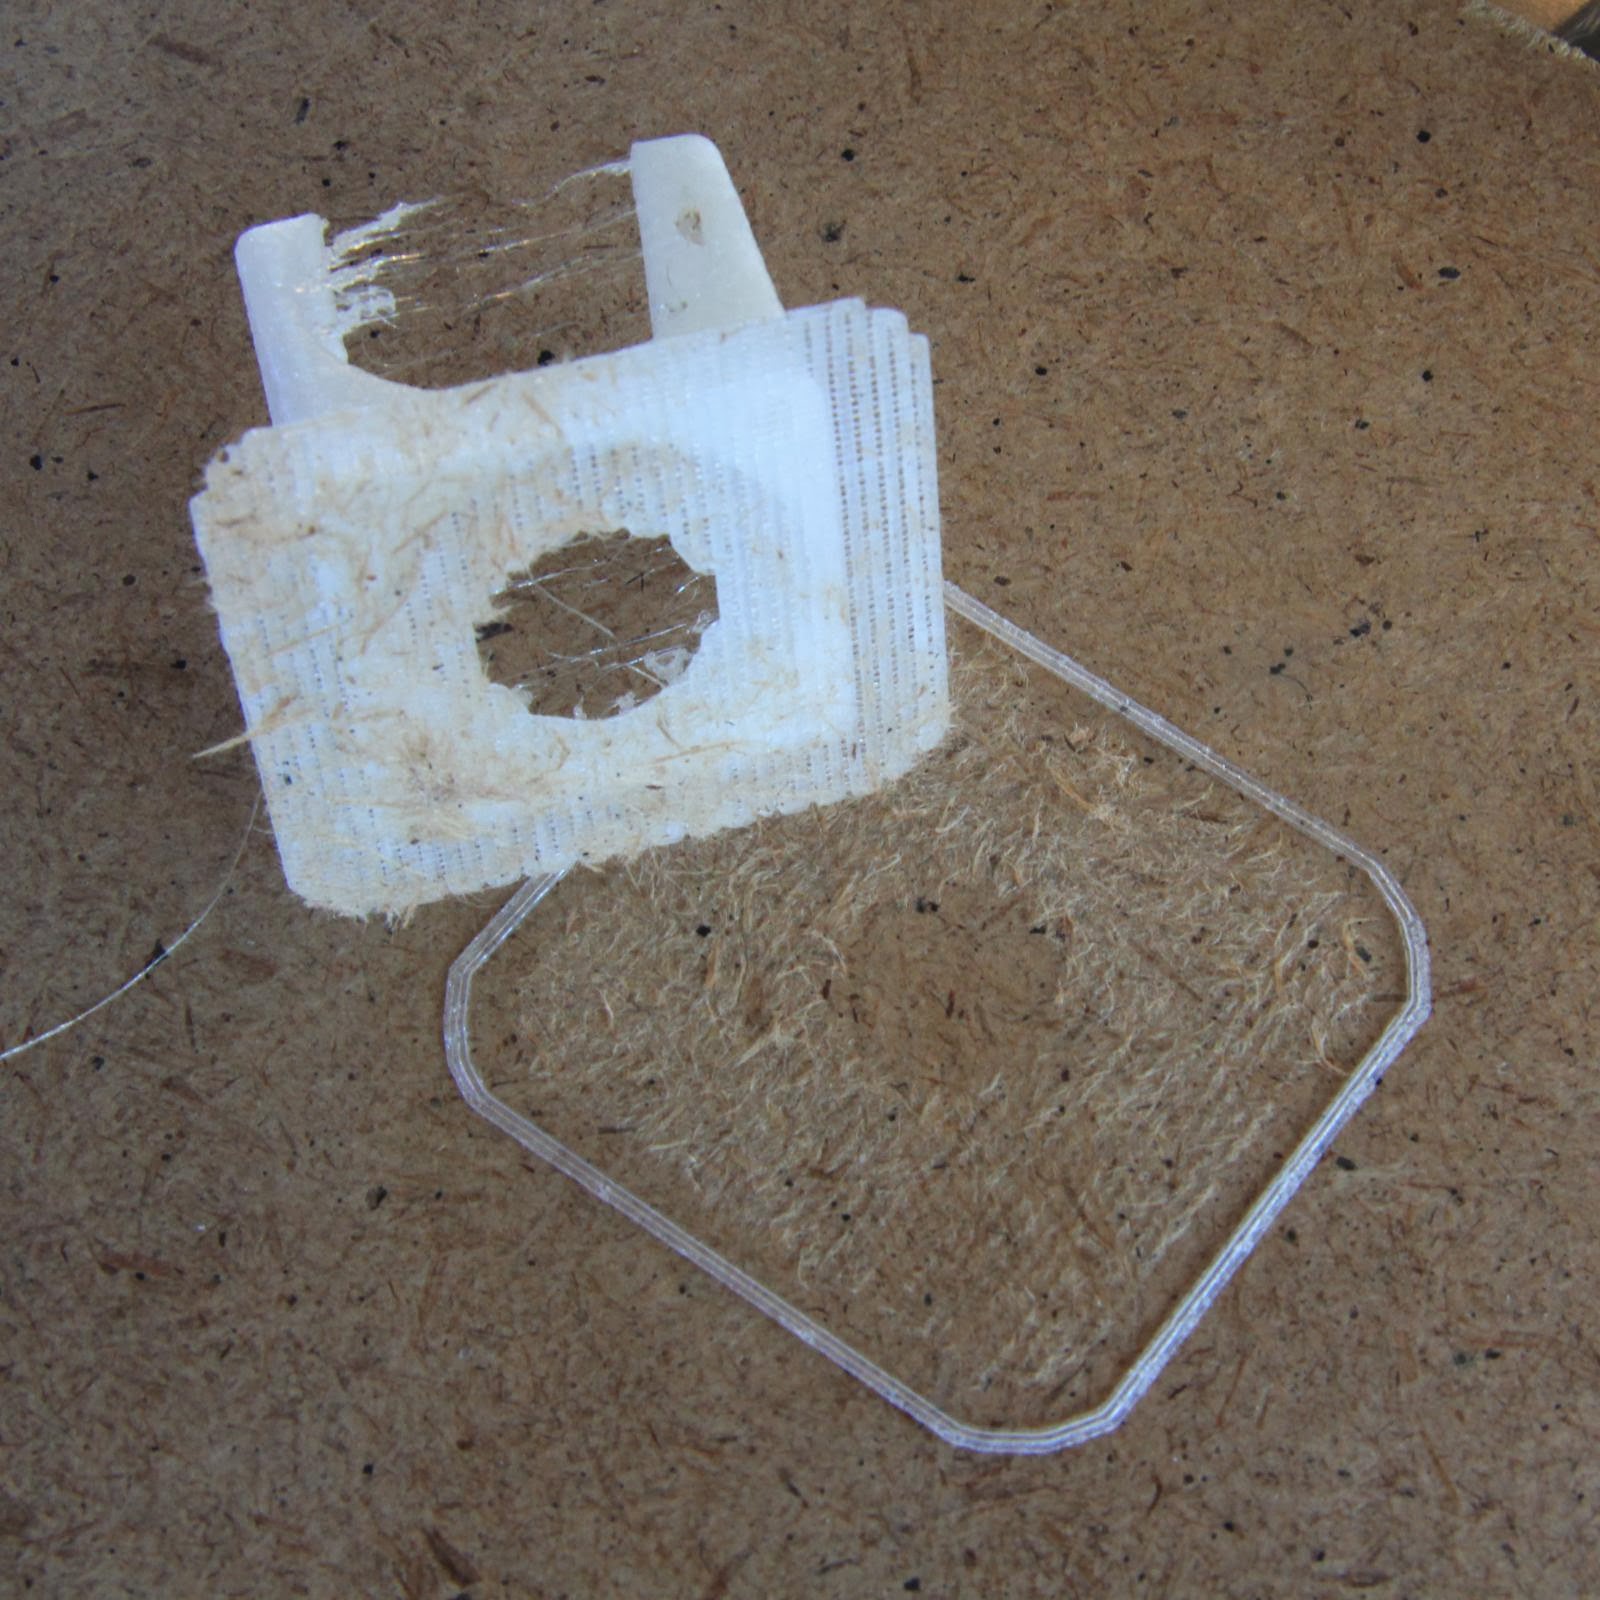
| The removal of a raft can be really hard with Nylon ! |
Using a raft helps of course. Rafts are usually meant to compensate non-perfectly flat beds. Here it will get the dirt in place of the object.
But I did not like it in the end, because the raft bonds so well with the first "real" layer that it takes ages to remove it properly at the end. It obviously depends on the object, but as you can see on the picture on the right, a mesh is certainly not an easy one !
 |
| Phenolic (or Bakelite) prototyping board: it works, but it impacts negatively the bottom layer of course, and it may be hard to find at a proper size. |
Then, I tried perforated Bakelite or Phenolic prototype boards with better results.
But the bottom of you object will inherit the corresponding texture: it will not be flat and usually needs to be post-processed. Also, I did not have any PCB large enough in my stock for my printer bed, so I hardly was able to clamp it reliably on all sides to keep it very flat.
Also I had to swap my bed support all the time when switching from Nylon to another material. Actually, I even had to design my YAZA adjuster because it was really tiring to adjust the bed height or level with the default Ultimaker design.
Print Nylon on glass with no hassle: use solvent-free glue!
Finally, I heard about the "UHU stick" glue trick without thinking it would work so well.And it does work well: just draw on your regular glass bed with it, wait for it to dry and print. I usually keep my bed at around 50-60°C so it was the matter of a few dozen seconds for it to dry.
My stick was really old (~10 year old?! it even did not glue paper anymore), hence it was leaving ugly lumps on the bed, which impacted the bottom layers of the prints (as it made some reciprocal bumps).
But I realized that this kind of glue can be diluted in water (solvent-free!), so I used a piece of crumpled Kapton tape that I dipped in water, and finally the more convenient 3D-printed brush above, to wash out the lumps.
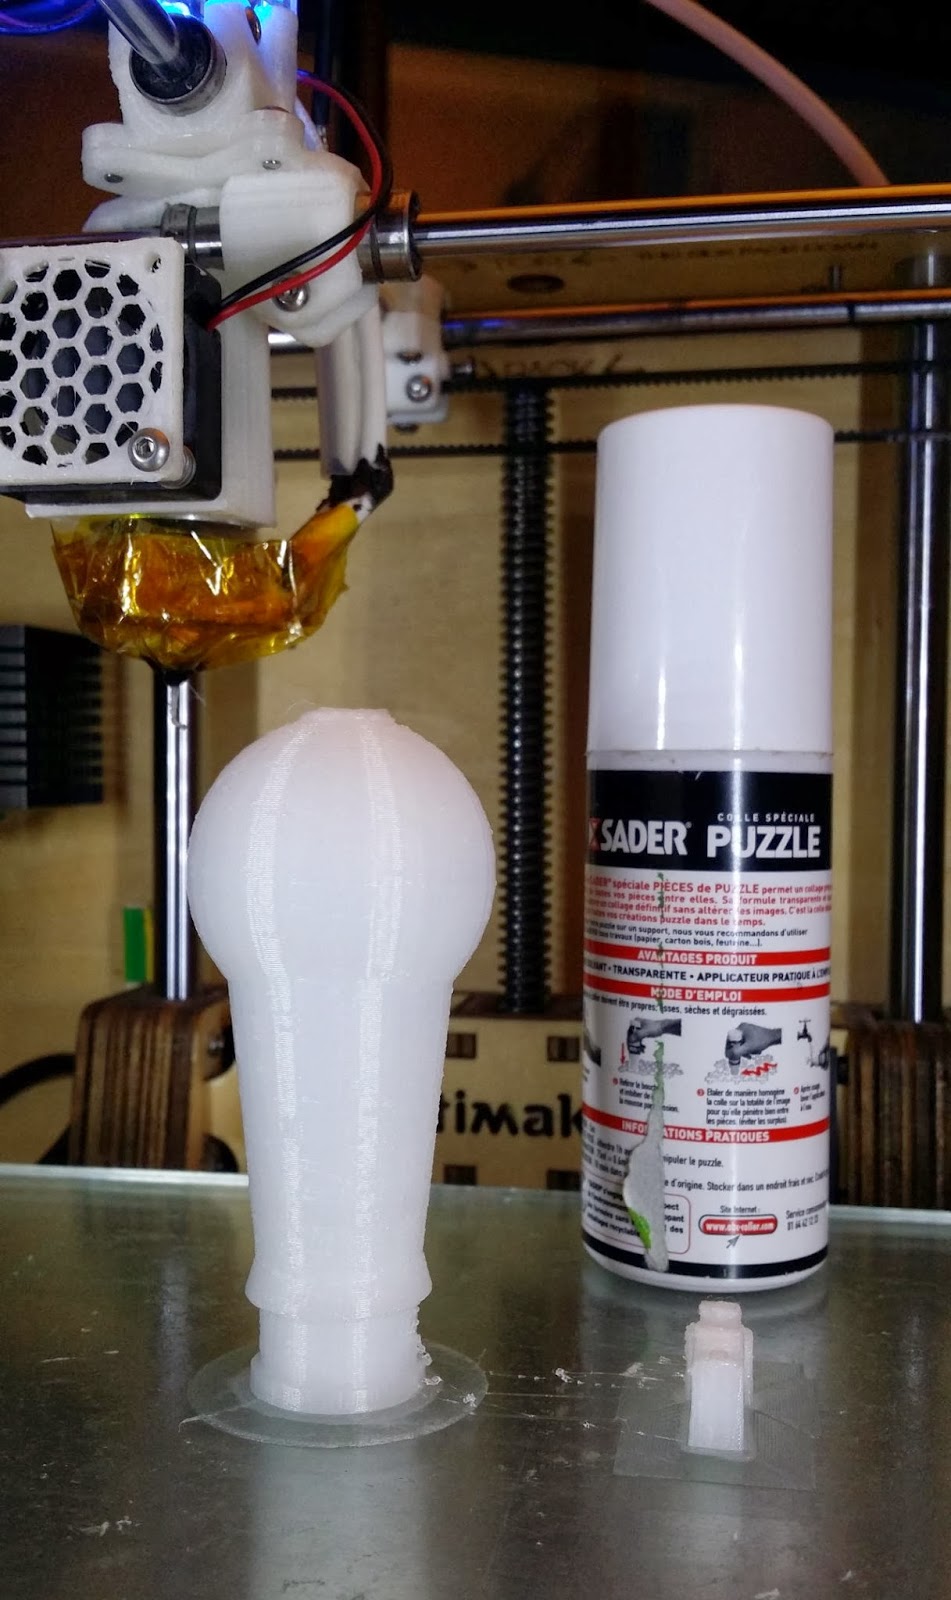
Then, I started looking for some newer stick, and I found another one which is really convenient: it is liquid and it is made for jigsaw puzzles. What makes it very convenient is that it has some sort of sponge on its head, which is very well suited to what we need here.
Just apply some liquid glue again after a few prints and you are done -- no need to use it each the time: many more than one object can be printed before another thin layer of glue must be "painted" again on the glass.
And the best for the end: it also works very well with PLA, so I no more have to use kapton or any other tape or technique whatever I print, nor swap my beds. Finally, this kind of glue is still soluble in water so I usually wash the bottom of my parts when done.
| A nice Nylon handle for T-shank style jigsaw blade, printed on glass on its head with an average brim (see below). |
 |
| Another print of this convenient handle (it's getting popular around me!). It shows how efficient the liquid glue is. I used regular 3 mm trimming line, with an average level of moisture left to ensure a solid bonding between layers. Cura weirdly plotted the parts simultaneously: shifting from one part to the other creates dirty strings (retraction was on). |

